
67 Power Wagon
Well-Known Member
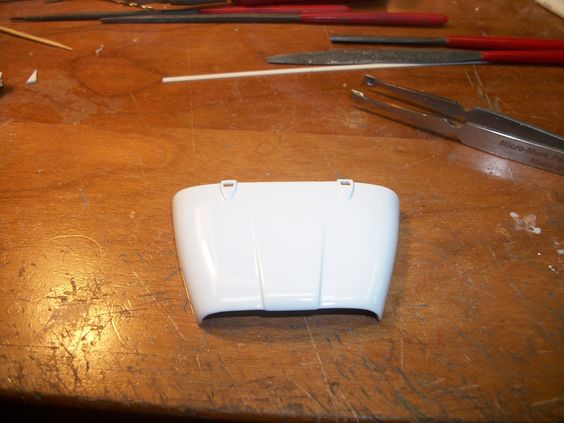
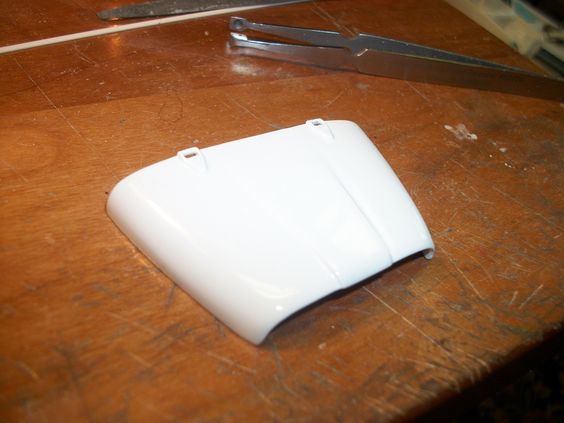
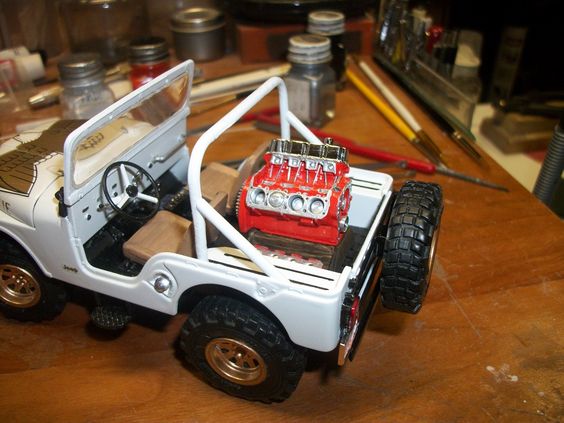
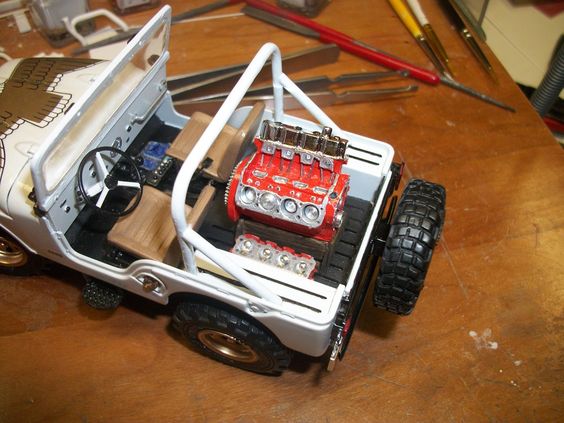
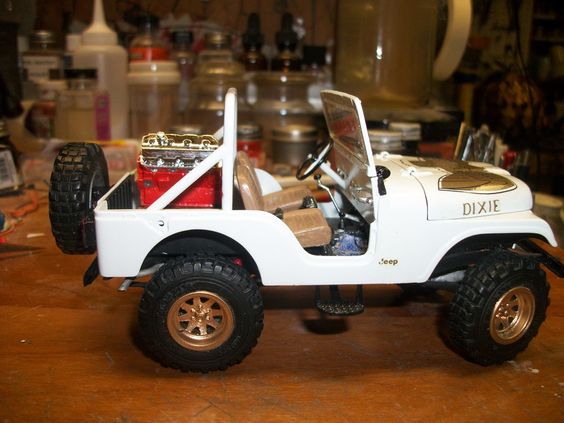
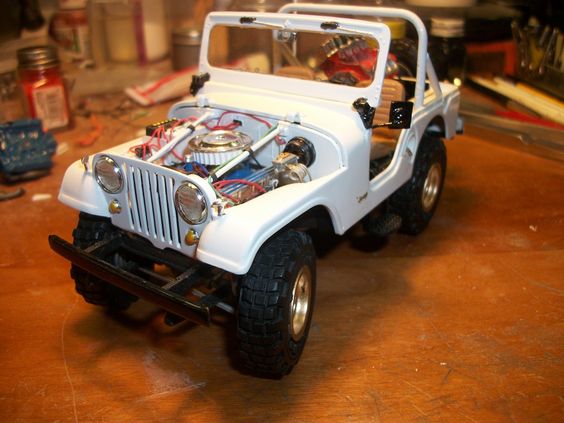
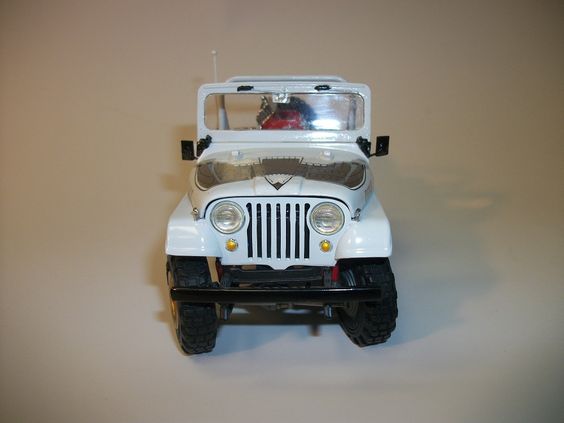
Well guys, I'm lacking........... BAD! I had some home-work around the house to do and that set me back just a little (2 days) so..... To start again, I actually got the hood to the Jeep in NICE shape! Ready for decals! I have yet to check it, (I'm almost afraid to look at it!) LOL BUT last time I "glanced" at it, it looked GREAT, we'll see! I'm ALMOST there with this build..... No pics of the hood tho.... I loaned the camera to my Daughter for the day and won't see her till later today, at some point to get it back!
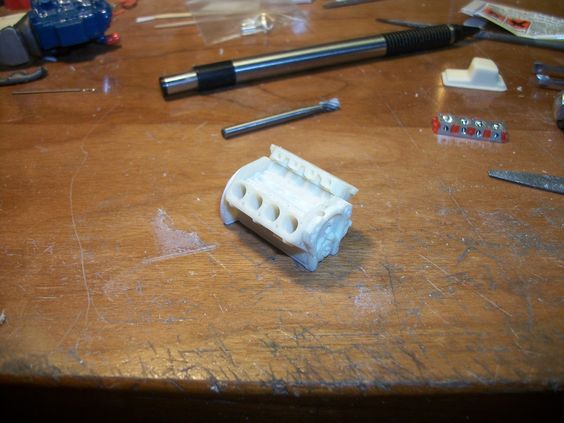
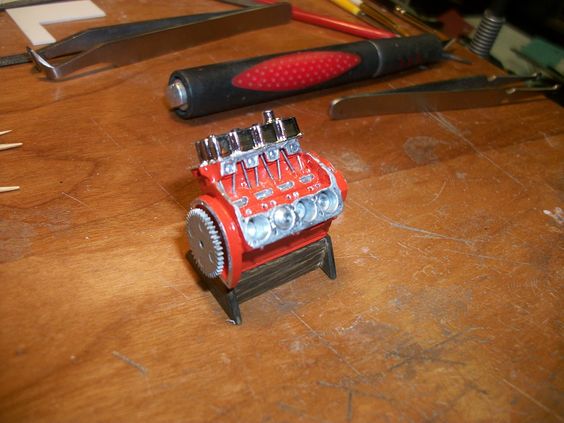
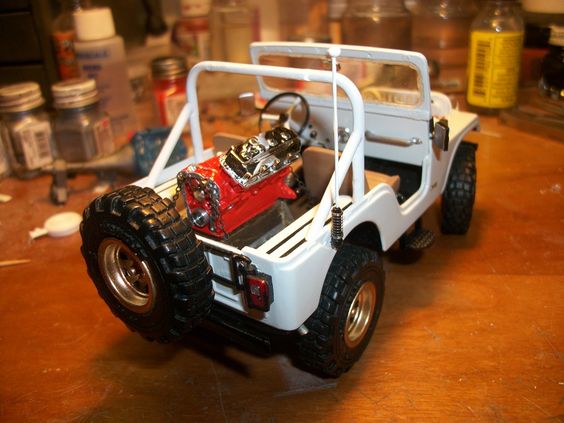
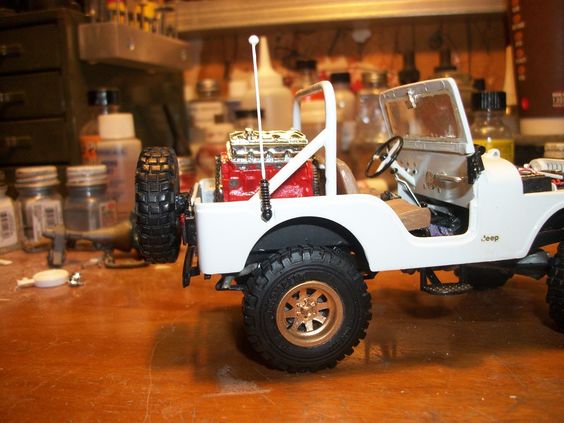
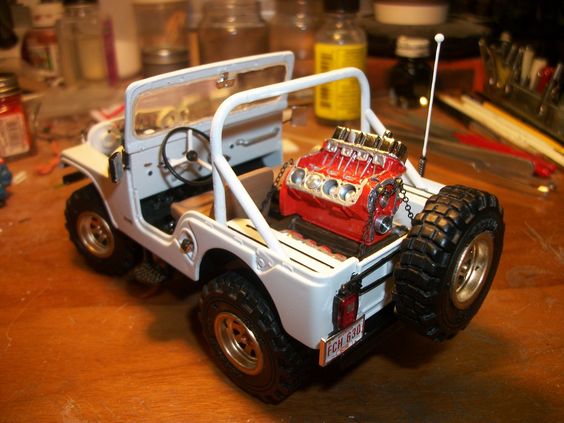
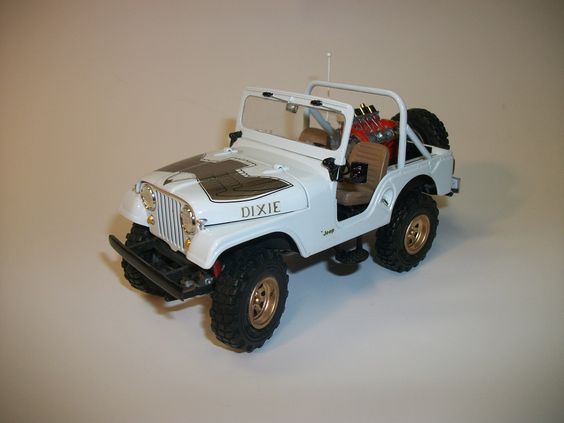
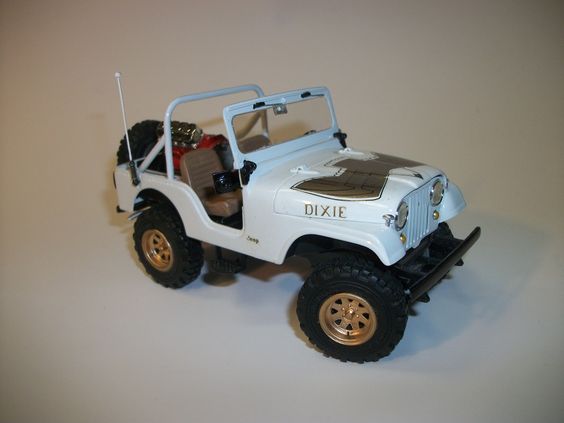
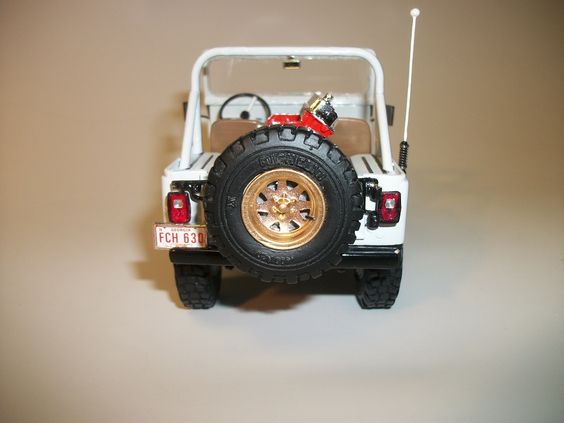
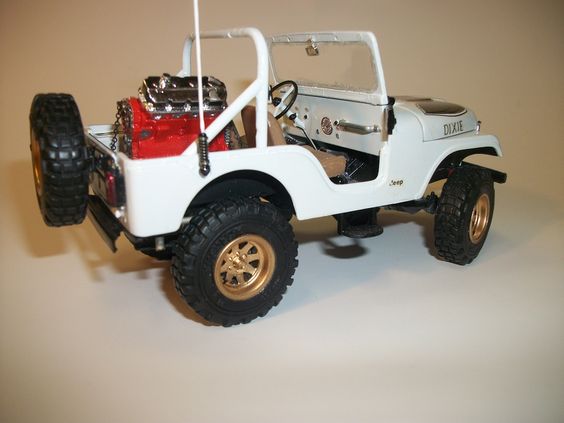
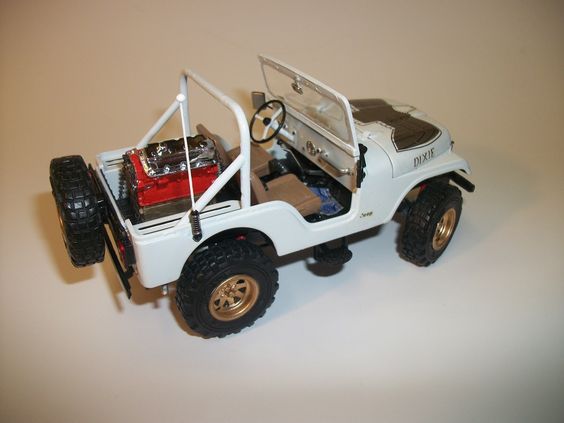
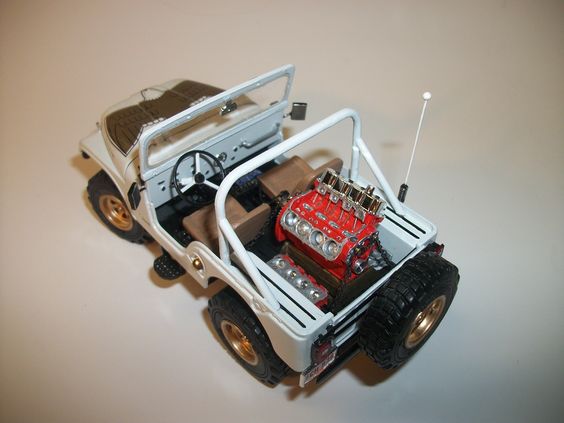
BUT I did get pics of what I did prior to the 2 days set-back! I thought, I'd get them posted for the up date with a little bit of a verbal update (on the hood situation!) So.... to the pics huh?
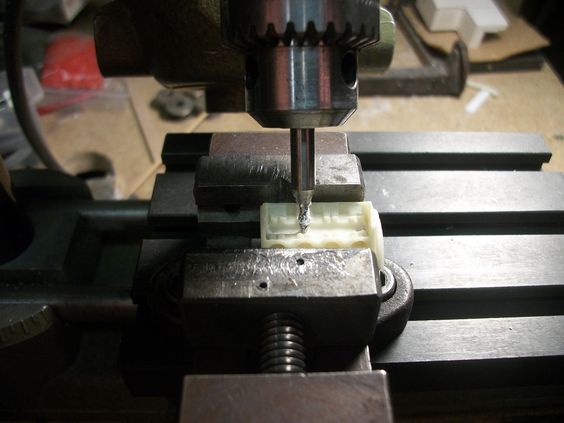
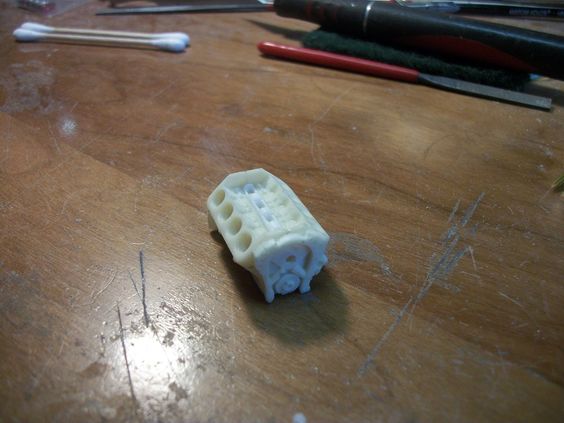
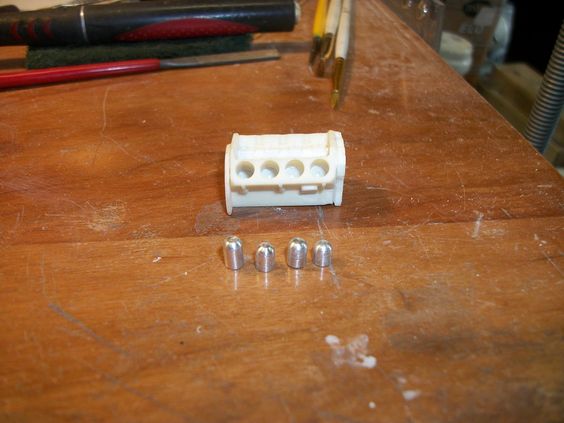
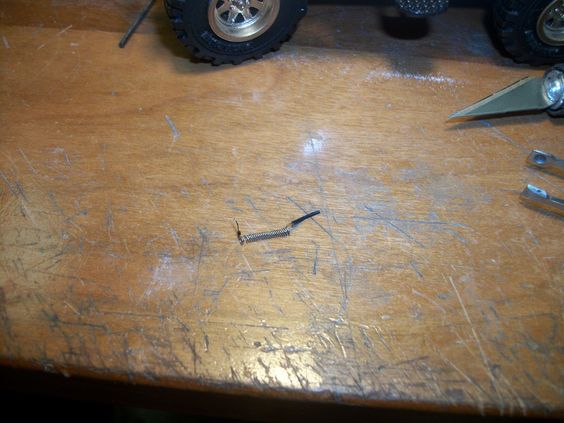
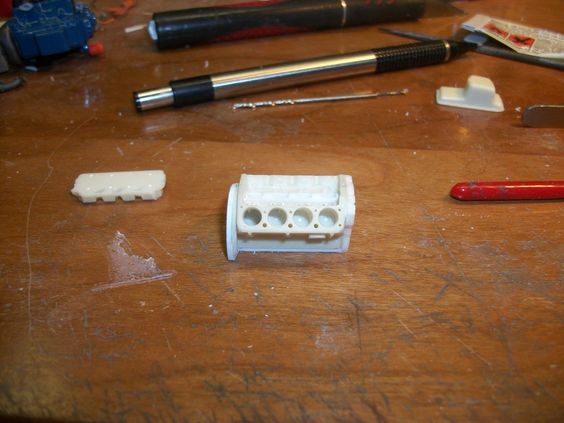
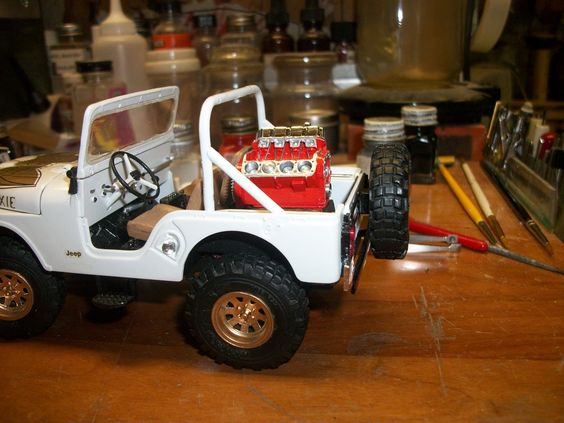
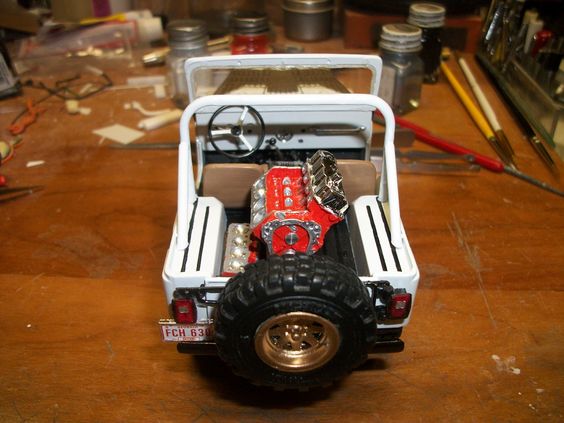
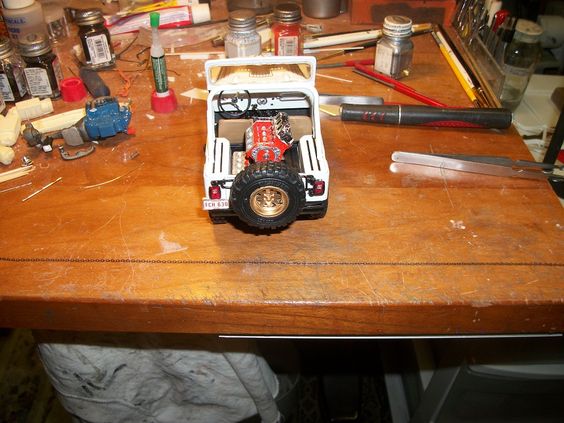
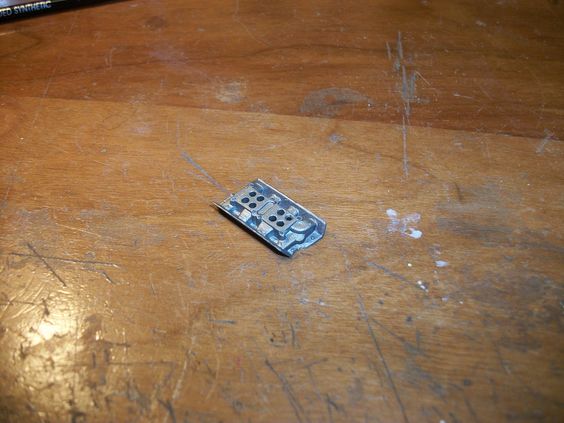
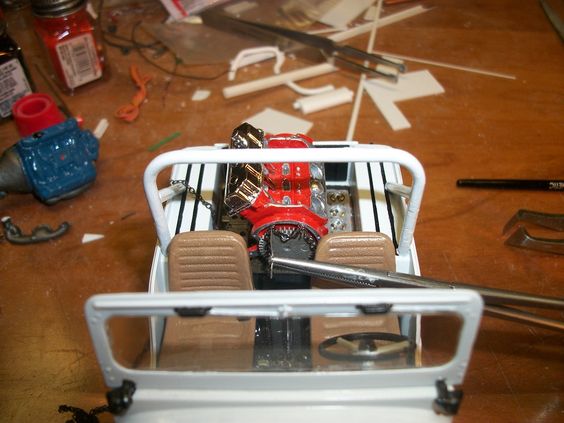
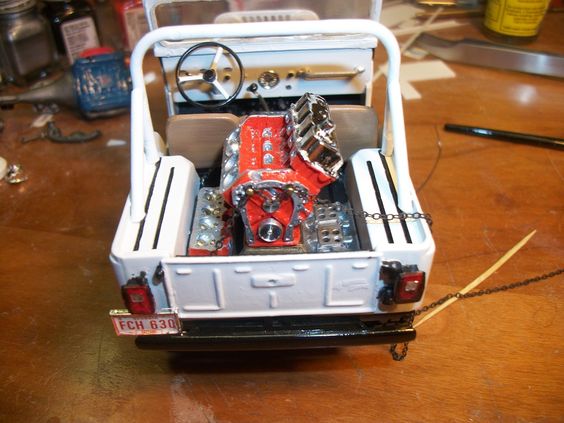
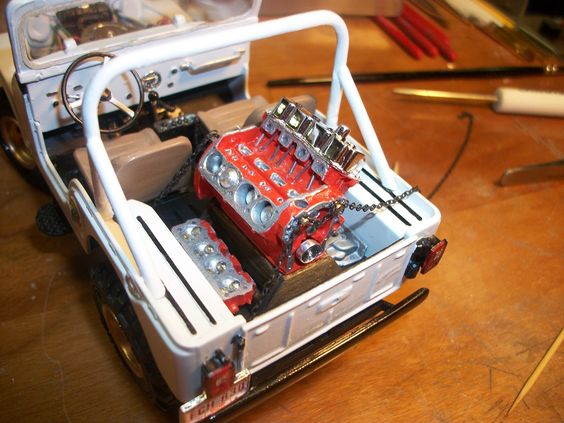
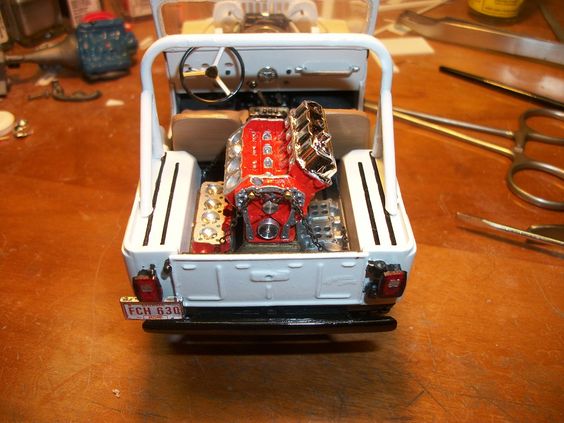
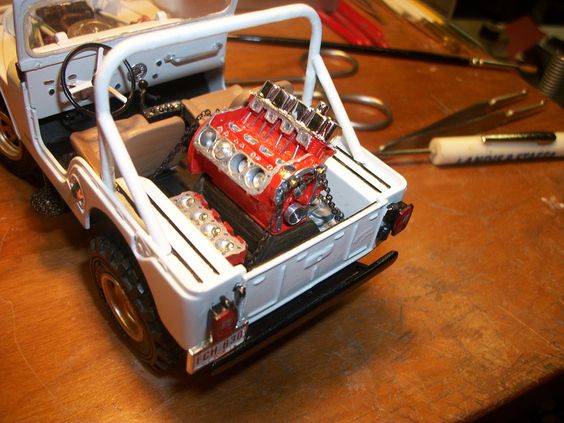
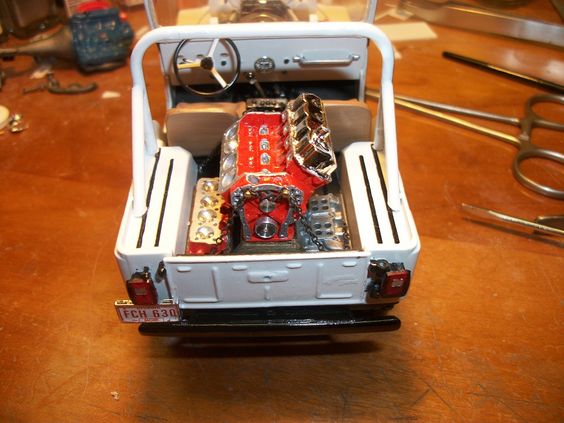
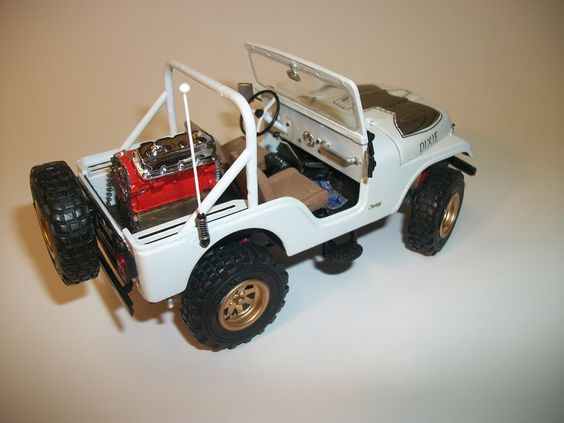
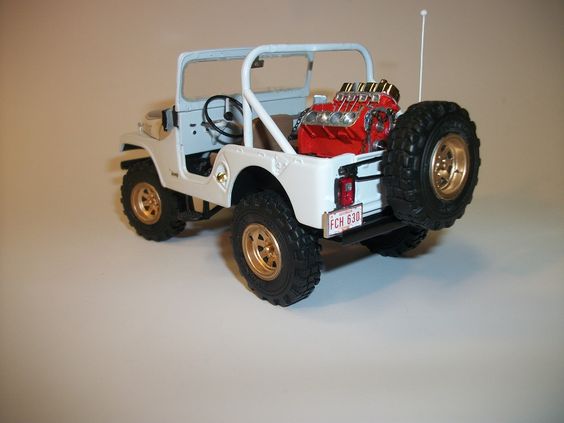
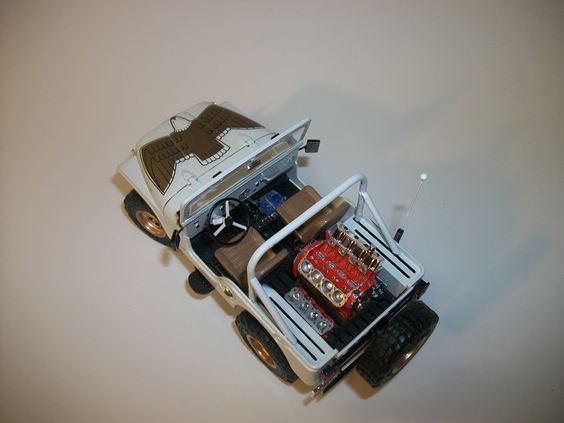
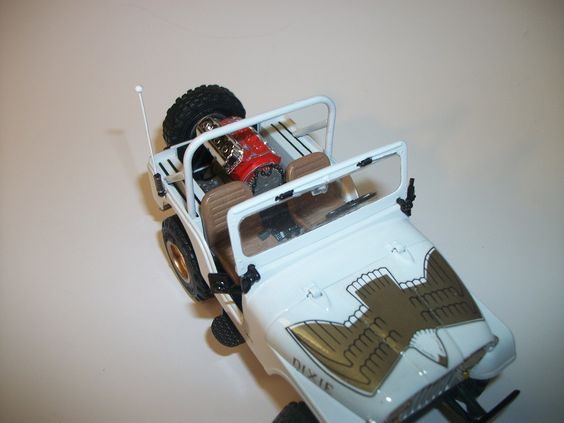
I'm "milling" out where the block stiffeners, & the cam bearings would be going in the "valley".
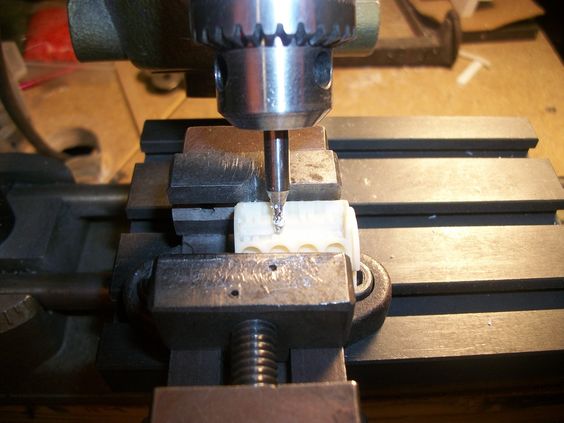
A little more "milling" of this area, was required, as I plan to glue in a detail part and then AGAIN mill it to spec!
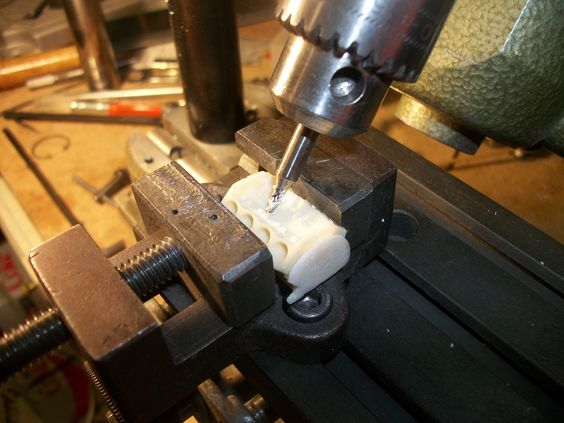
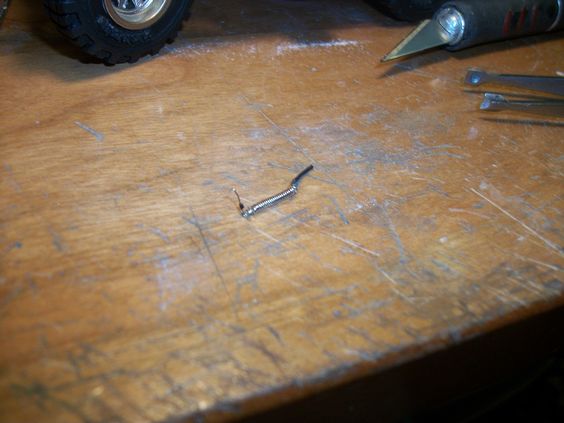
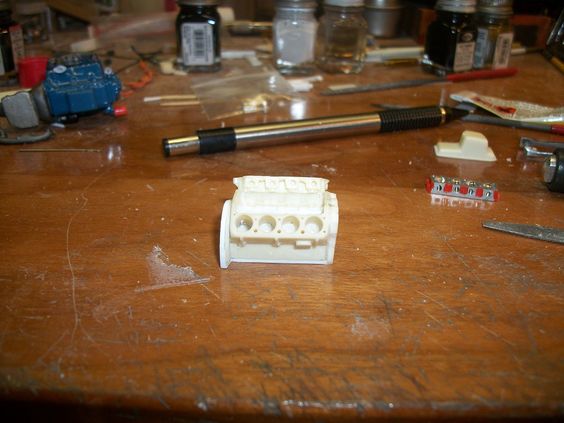
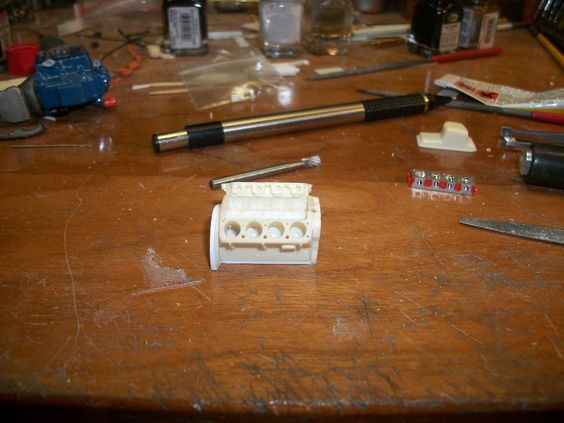
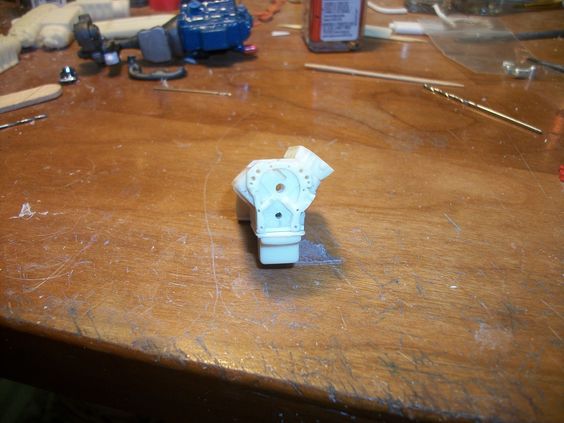
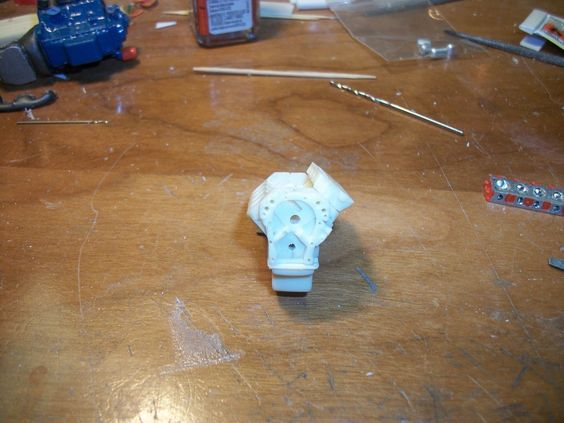
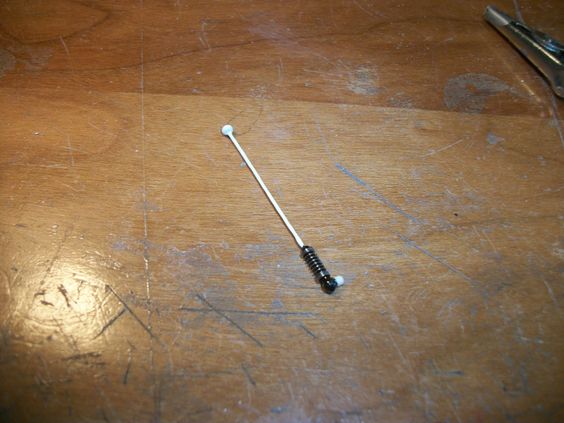
The part I plan to glue in here, is of round stock "rod" made of styrene, to then be milled vertical (not angled as you see now! The Milling now, is being done with a "Ball End-Mill", to give me a "round" base, to hold the round styrene rod, thats going to be placed in there, to then be milled to have the cam bearing seats in the block, where needed and then the "openings" in it, to show the cam in place!
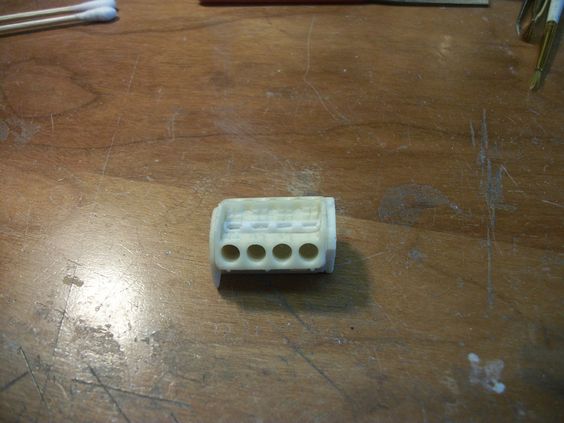
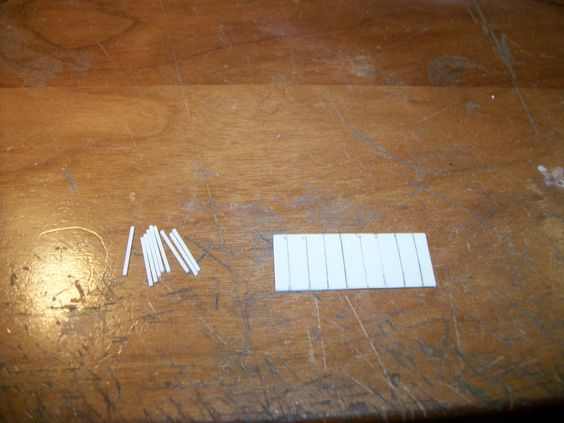
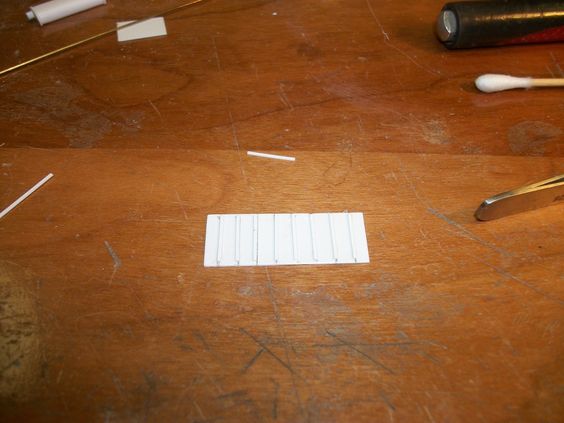
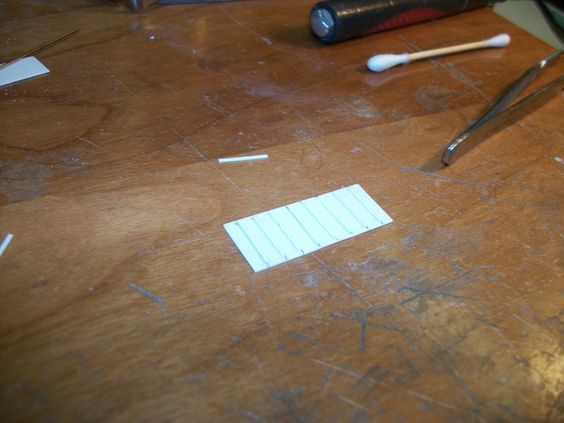
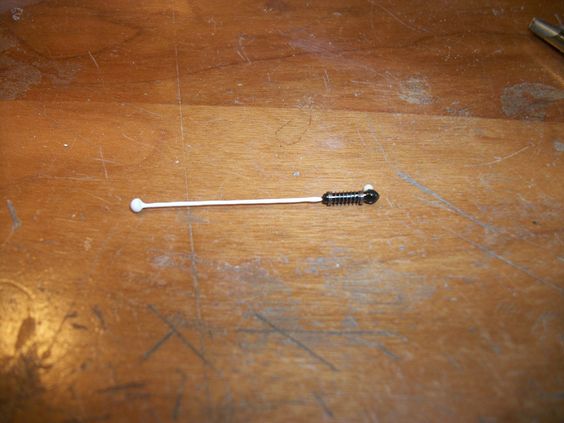
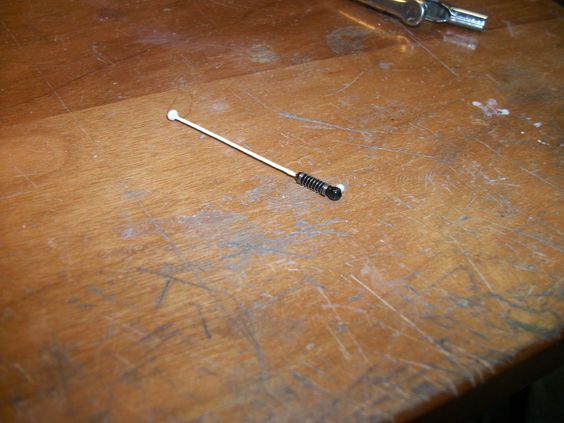
As of this posting, (I have to get pics BEFORE I proceed), but the round bar stock styrene has been glued in, and milled for what I've mentioned here. I plan to make something, to represent a cam. The front of the engine block has been drilled length-wise, for the cam!
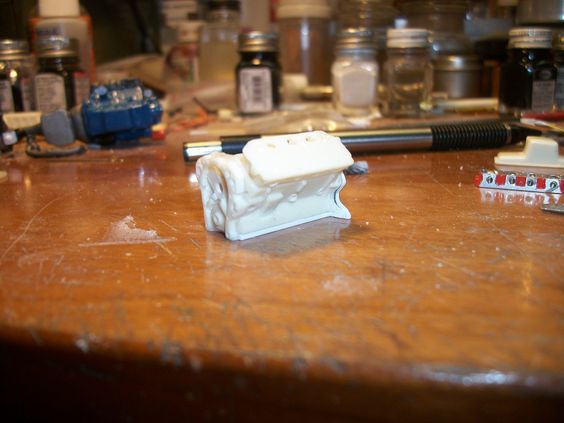
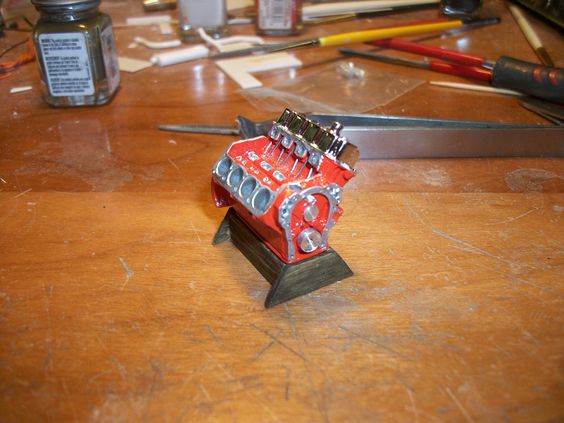
MORE will come once I have the camera back in-hand!!!! Enjoy for now! Thanks for looking, comments MORE THEN WELCOME!
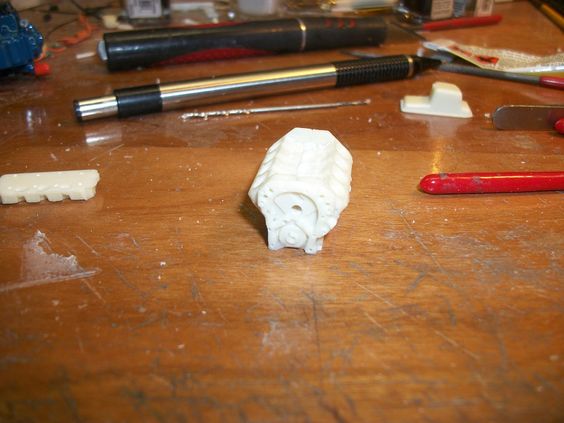
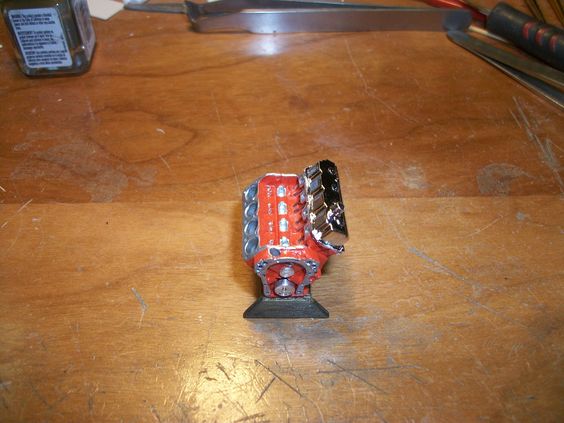
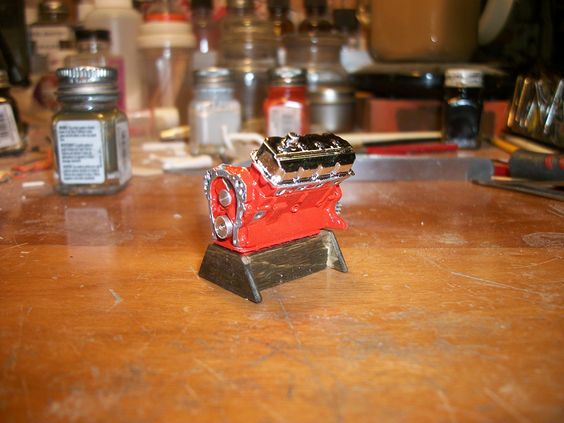
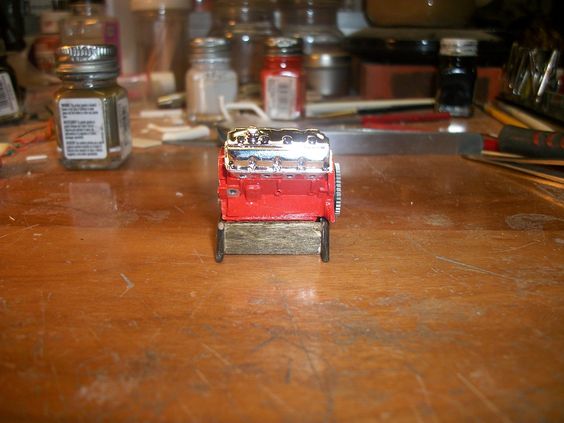
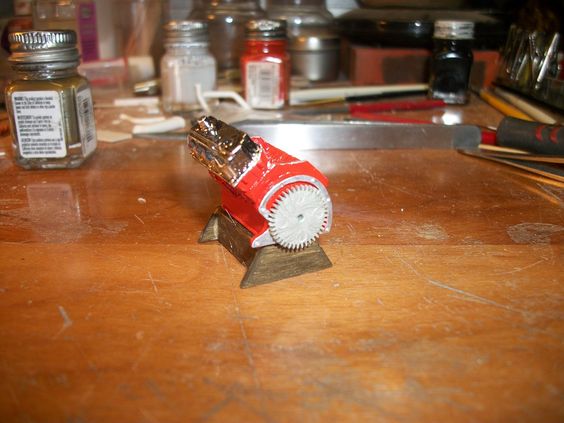
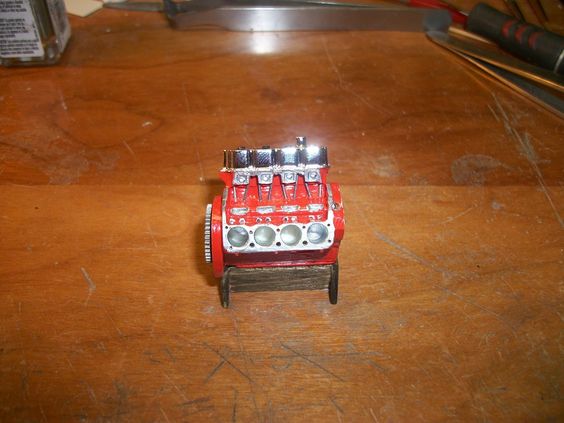
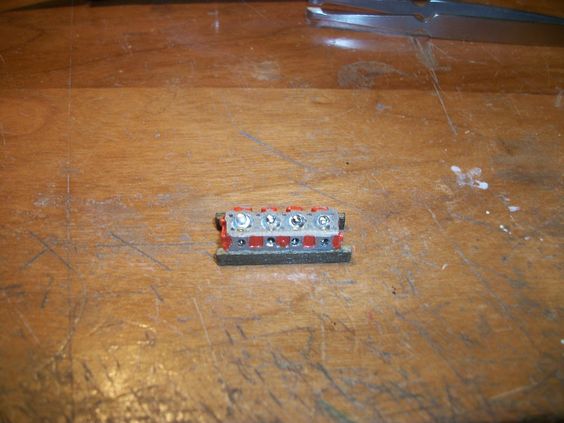
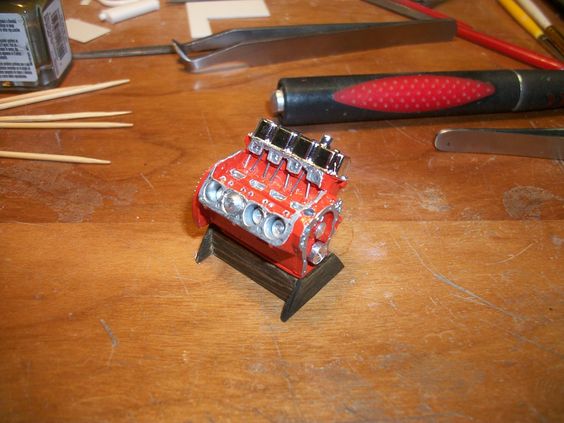
BUT I did get pics of what I did prior to the 2 days set-back! I thought, I'd get them posted for the up date with a little bit of a verbal update (on the hood situation!) So.... to the pics huh?
I'm "milling" out where the block stiffeners, & the cam bearings would be going in the "valley".
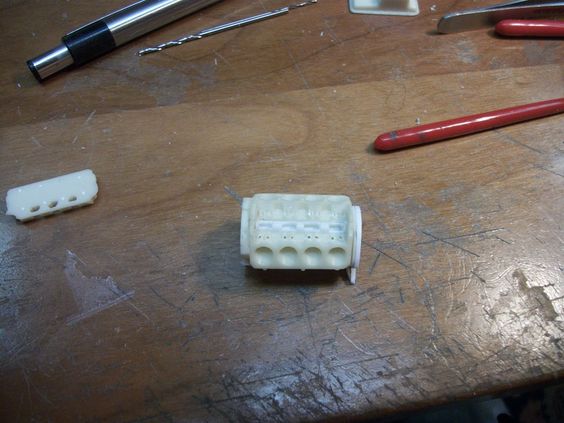
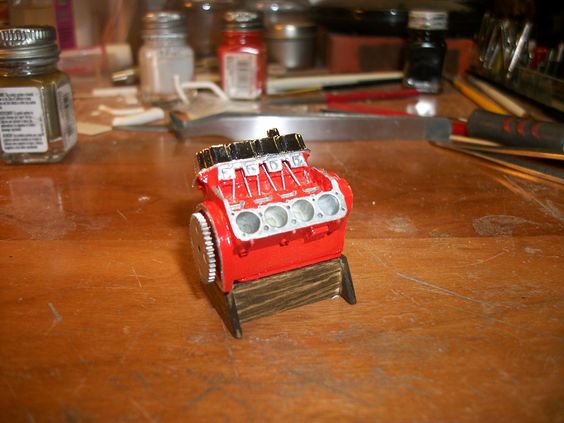
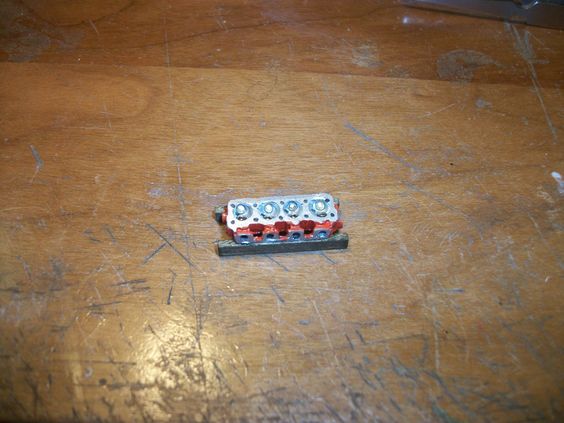
A little more "milling" of this area, was required, as I plan to glue in a detail part and then AGAIN mill it to spec!
The part I plan to glue in here, is of round stock "rod" made of styrene, to then be milled vertical (not angled as you see now! The Milling now, is being done with a "Ball End-Mill", to give me a "round" base, to hold the round styrene rod, thats going to be placed in there, to then be milled to have the cam bearing seats in the block, where needed and then the "openings" in it, to show the cam in place!
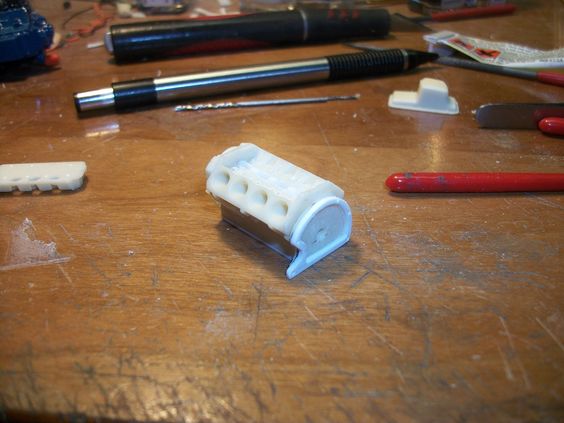
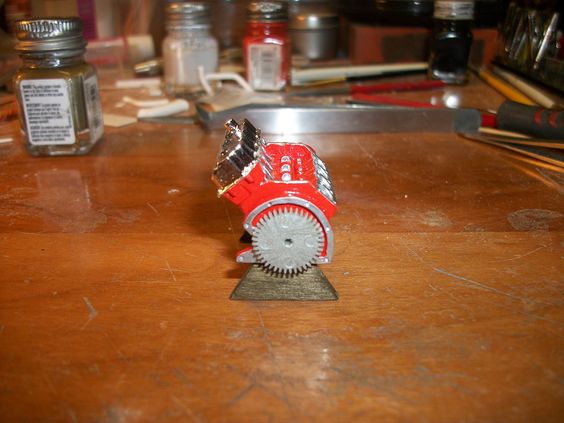
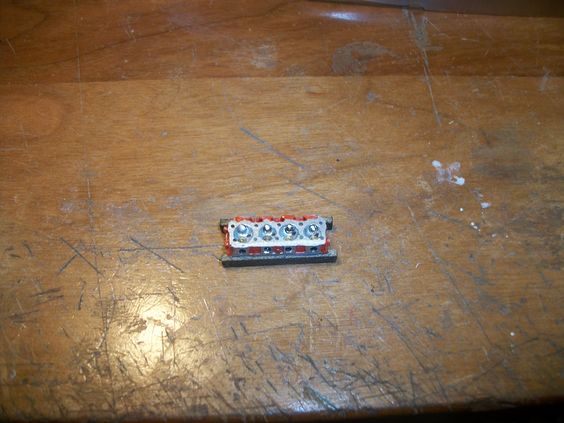
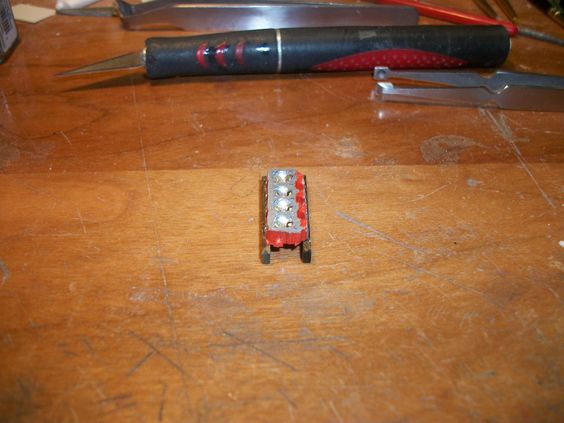
As of this posting, (I have to get pics BEFORE I proceed), but the round bar stock styrene has been glued in, and milled for what I've mentioned here. I plan to make something, to represent a cam. The front of the engine block has been drilled length-wise, for the cam!
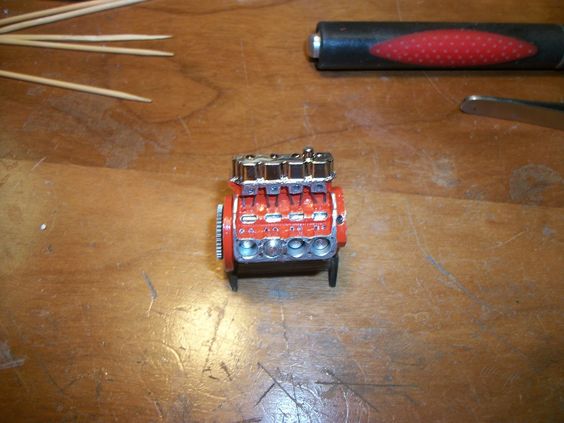
MORE will come once I have the camera back in-hand!!!! Enjoy for now! Thanks for looking, comments MORE THEN WELCOME!


 I felt like I was reading a build thread on a real , running , driving Jeep ! You did a hellava job there !